Swift scripting
Apollo Client for iOS enables you to use Swift scripting to perform certain operations that otherwise require the command line. This document guides you through setting up a Swift Package Manager executable and then using it to:
- Download a schema
- Generate Swift code for your model object based on your schema and operations
Conceptual background
Apollo's code generation requires both of the following to run:
- Your schema, which defines what it's possible for you to request from or send to your server
- One or more operations, which define what you are actually requesting from the server
If you're missing either of these, codegen can't run. If you define operations but no schema, the operations can't be validated. If you define a schema but no operations, there's nothing to validate or generate code for.
Or, more succinctly:
schema + operations = codeEach operation you define can be one of the following:
- A query, which is a one-time request for specific data
- A mutation, which changes data on the server and then receives updated data back
- A subscription, which allows you to listen for changes to a particular object or type of object
Code generation takes your operations and compares them to the schema to confirm that they're valid. If an operation isn't valid, the whole process errors out. If all operations are valid, codegen generates Swift code that gives you end-to-end type safety for each operation.
The rest of this guide will help you set up a Swift Package Manager executable that will live alongside your main xcodeproj and which can be used either from your main xcodeproj or on its own to download a schema, generate code, or both.
Setup
To begin, let's set up a Swift Package Manager executable:
-
Using Terminal,
cdinto your project'sSRCROOT. This is generally the directory that contains your.xcodeprojor.xcworkspacefile. The directory structure of this folder should look something like this:Sample Project StructureMyProject // Source root | MyProject.xcodeproj | - MyProject // Contains app target source files | - MyLibraryTarget // Contains lib target source files | - MyProjectTests // Contains test files -
Create a new directory for the Codegen executable by running
mkdir Codegenin Terminal. Your directory structure should now look like this:Sample Project StructureMyProject // Source root | MyProject.xcodeproj | - MyProject // Contains app target source files | - MyLibraryTarget // Contains lib target source files | - MyProjectTests // Contains test files | - Codegen // Contains your Swift Scripting files -
Using Terminal, change directories into the codegen folder, and initialize an SPM executable by using the following commands:
Terminalcd Codegen swift package init --type executableWhen this command finishes, you'll see that the Codegen folder now has new contents:
Sample Project StructureMyProject // Source root | MyProject.xcodeproj | - MyProject // Contains app target source files | - MyLibraryTarget // Contains lib target source files | - MyProjectTests // Contains test files | - Codegen // Contains your Swift Scripting files | Package.swift | README.md | - Sources | - Codegen | - Tests | - CodegenTests - Double-click
Package.swiftin this new folder (or runopen Package.swiftin Terminal). This opens the package you've just created in Xcode. -
Update the
dependenciessection to grab the Apollo iOS library:Package.swift.package(name: "Apollo", url: "https://github.com/apollographql/apollo-ios.git", .upToNextMinor(from: "0.29.0"))NOTE: The version should be identical to the version you're using in your main project.
ALSO NOTE: Having to specify the name is a workaround for SR-12110. Hopefully once that's fixed, SPM should pick up the name automatically.
-
For the main executable target in the
targetssection, addApolloCodegenLibas a dependency:Package.swift.target(name: "Codegen", dependencies: [ .product(name: "ApolloCodegenLib", package: "Apollo"), ]) -
In
main.swift, import the Codegen lib and Apple's Foundation library at the top of the file:main.swiftimport Foundation import ApolloCodegenLib - Run
swift runin Terminal - you should still be in the same directory where thePackage.swiftfile was checked out, and this is the proper place to run it. This will download dependencies, then build and run your package. This should create an output of"Hello, world!", confirming that the package and its dependencies are set up correctly.
Now it's time to use the executable to do some stuff for you!
Accessing your project's file tree
Because Swift Package manager doesn't have an environment, there's no good way to access the $SRCROOT variable if you're running it directly from the command line or using a scheme in Xcode.
Because almost everything the code generation can do requires access to the file tree where your code lives, there needs to be an alternate method to pass this through.
Fortunately, there's a class for that: FileFinder automatically uses the calling #file as a way to access the Swift file you're currently editing.
For example, let's take a main.swift in a folder in /Codegen/Sources, assuming following file system structure:
MyProject // Source Root
| MyProject.xcodeproj
| - MyProject // Contains app target source files
| - MyLibraryTarget // Contains lib target source files
| - MyProjectTests // Contains test files
| - Codegen // Contains Swift Scripting files
| Package.swift
| README.md
| - Sources
|- Codegen
| main.swiftHere's how you obtain the parent folder of the script, then use that to get back to your source root:
let parentFolderOfScriptFile = FileFinder.findParentFolder()
let sourceRootURL = parentFolderOfScriptFile
.apollo.parentFolderURL() // Result: Sources folder
.apollo.parentFolderURL() // Result: Codegen folder
.apollo.parentFolderURL() // Result: MyProject source root folderYou can use this to get the URL of the folder you plan to download the CLI to:
let cliFolderURL = sourceRootURL
.apollo.childFolderURL(folderName: "Codegen")
.apollo.childFolderURL(folderName: "ApolloCLI")This would put the folder to download the CLI here in your filesystem:
MyProject // SourceRoot
| MyProject.xcodeproj
| - MyProject // Contains app target source files
| - MyLibraryTarget // Contains lib target source files
| - MyProjectTests // Contains test files
| - Codegen // Contains Swift Scripting files
| Package.swift
| README.md
| - ApolloCLI // Contains downloaded typescript CLI
| - Sources
| - Codegen
| main.swiftNote: We recommend adding this folder to your root
.gitignore, because otherwise you'll be adding the zip file and a ton of JS code to your repo.If you're on versions prior to
0.24.0, throw an empty.keepfile and force-add it to git to preserve the folder structure. Versions after0.24.0automatically create the folder being downloaded to if it doesn't exist.
Now, with access to both the sourceRootURL and the cliFolderURL, it's time to use your script to do neat stuff for you!
Downloading a schema
One of the convenience wrappers available to you in the target is ApolloSchemaDownloader. This allows you to use an ApolloSchemaOptions object to set up how you would like to download the schema.
-
Set up access to the endpoint you'll be downloading this from. This might be directly from your server, or from Apollo Graph Manager. For this example, let's download directly from the server:
main.swiftlet endpoint = URL(string: "http://localhost:8080/graphql")! -
You will want to download your schema into the folder containing source files for your project:
Sample Project StructureMyProject // SourceRoot | MyProject.xcodeproj | - MyProject // Contains app target source files | schema.json | - MyLibraryTarget // Contains lib target source files | - MyProjectTests // Contains test files | - Codegen // Contains Swift Scripting files | Package.swift | README.md | - ApolloCLI // Contains downloaded typescript CLI | - Sources | - Codegen | main.swiftTo do that, set up the URL for the folder where you want to download the schema:
main.swiftlet output = sourceRootURL .apollo.childFolderURL(folderName:"MyProject")Note that particularly if you're not just downloading the schema into your target's folder, you will want to make sure the folder exists before proceeding:
main.swifttry FileManager .default .apollo.createFolderIfNeeded(at: output) -
Set up your
ApolloSchemaOptionsobject. In this case, we'll use the default arguments for all the constructor parameters that take them, and only pass in the endpoint to download from and the folder to put the downloaded file into:main.swiftlet schemaDownloadOptions = ApolloSchemaOptions(endpointURL: endpoint, outputFolderURL: output)With these defaults, this will download a JSON file called
schema.json. -
Add the code that will actually download the schema:
main.swiftdo { try ApolloSchemaDownloader.run(with: cliFolderURL, options: schemaDownloadOptions) } catch { exit(1) }Note that
catching and manually callingexitwith a non-zero code leaves you with a much more legible error message than simply letting the method throw. -
Build and run using the Xcode project. Note that if you're on Catalina you might get a warning asking if your executable can access files in a particular folder like this:
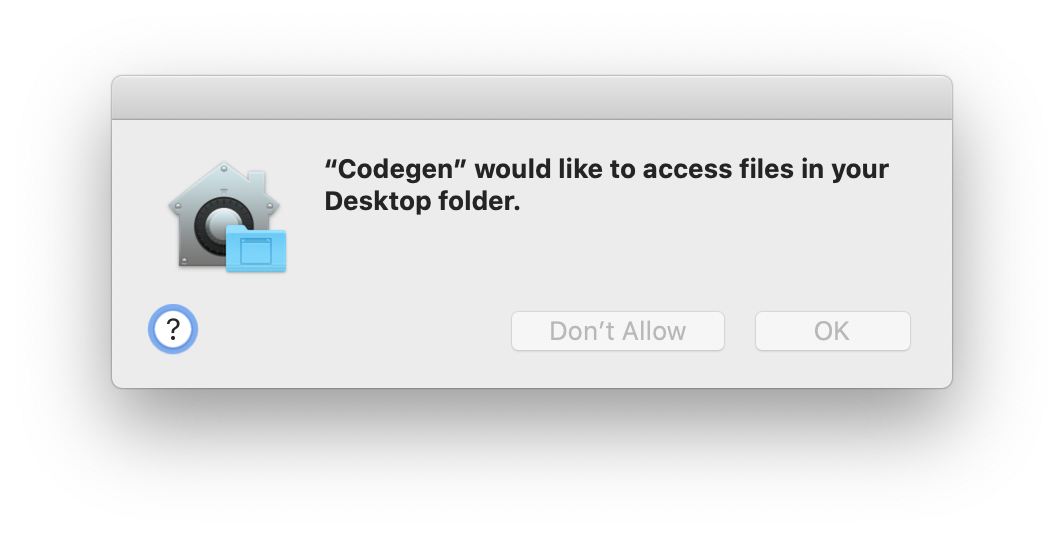
Click OK. Your CLI output will look something like this:
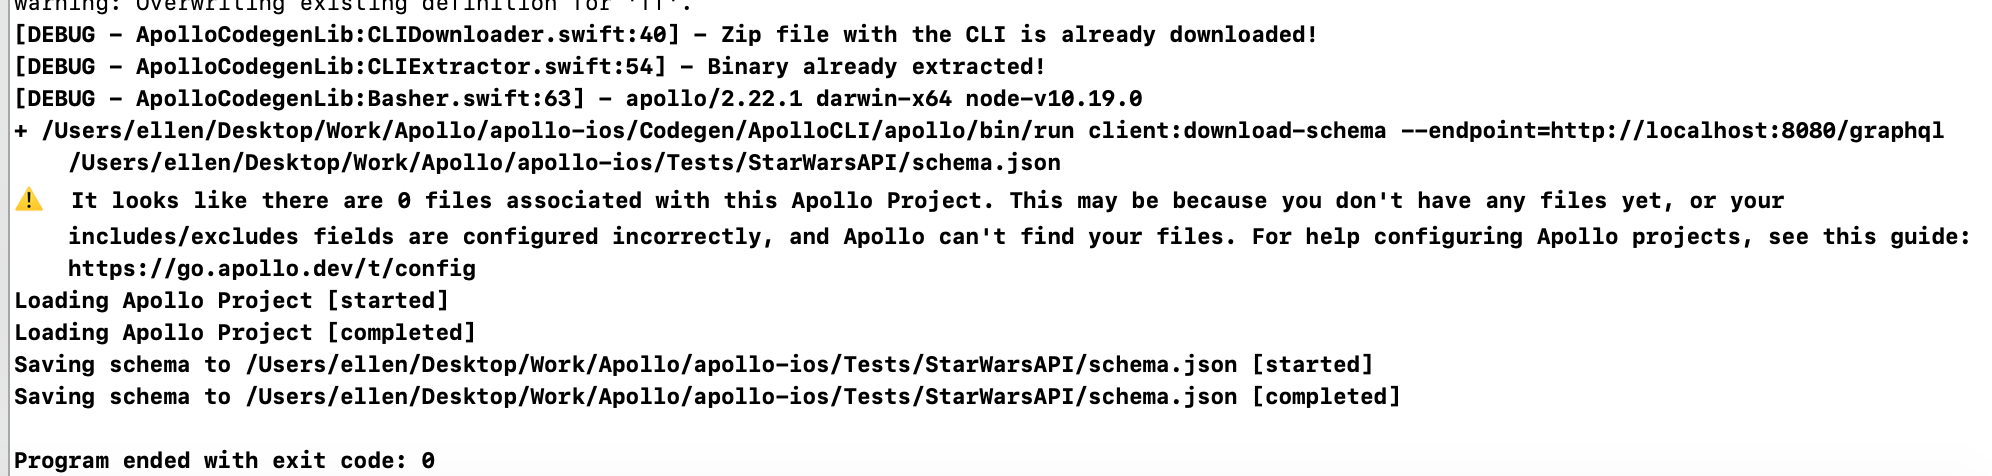
The last two lines (
Saving schema startedandSaving schema completed) indicate that the schema has successfully downloaded.
Note the warning: This isn't relevant for schema downloading, but it is relevant for generating code: In order to generate code, you need both the schema and some kind of operation.
Creating a .graphql file with an operation
Because you've already downloaded a schema, you can now proceed to creating an operation. The easiest and most common type of operation to create is a Query.
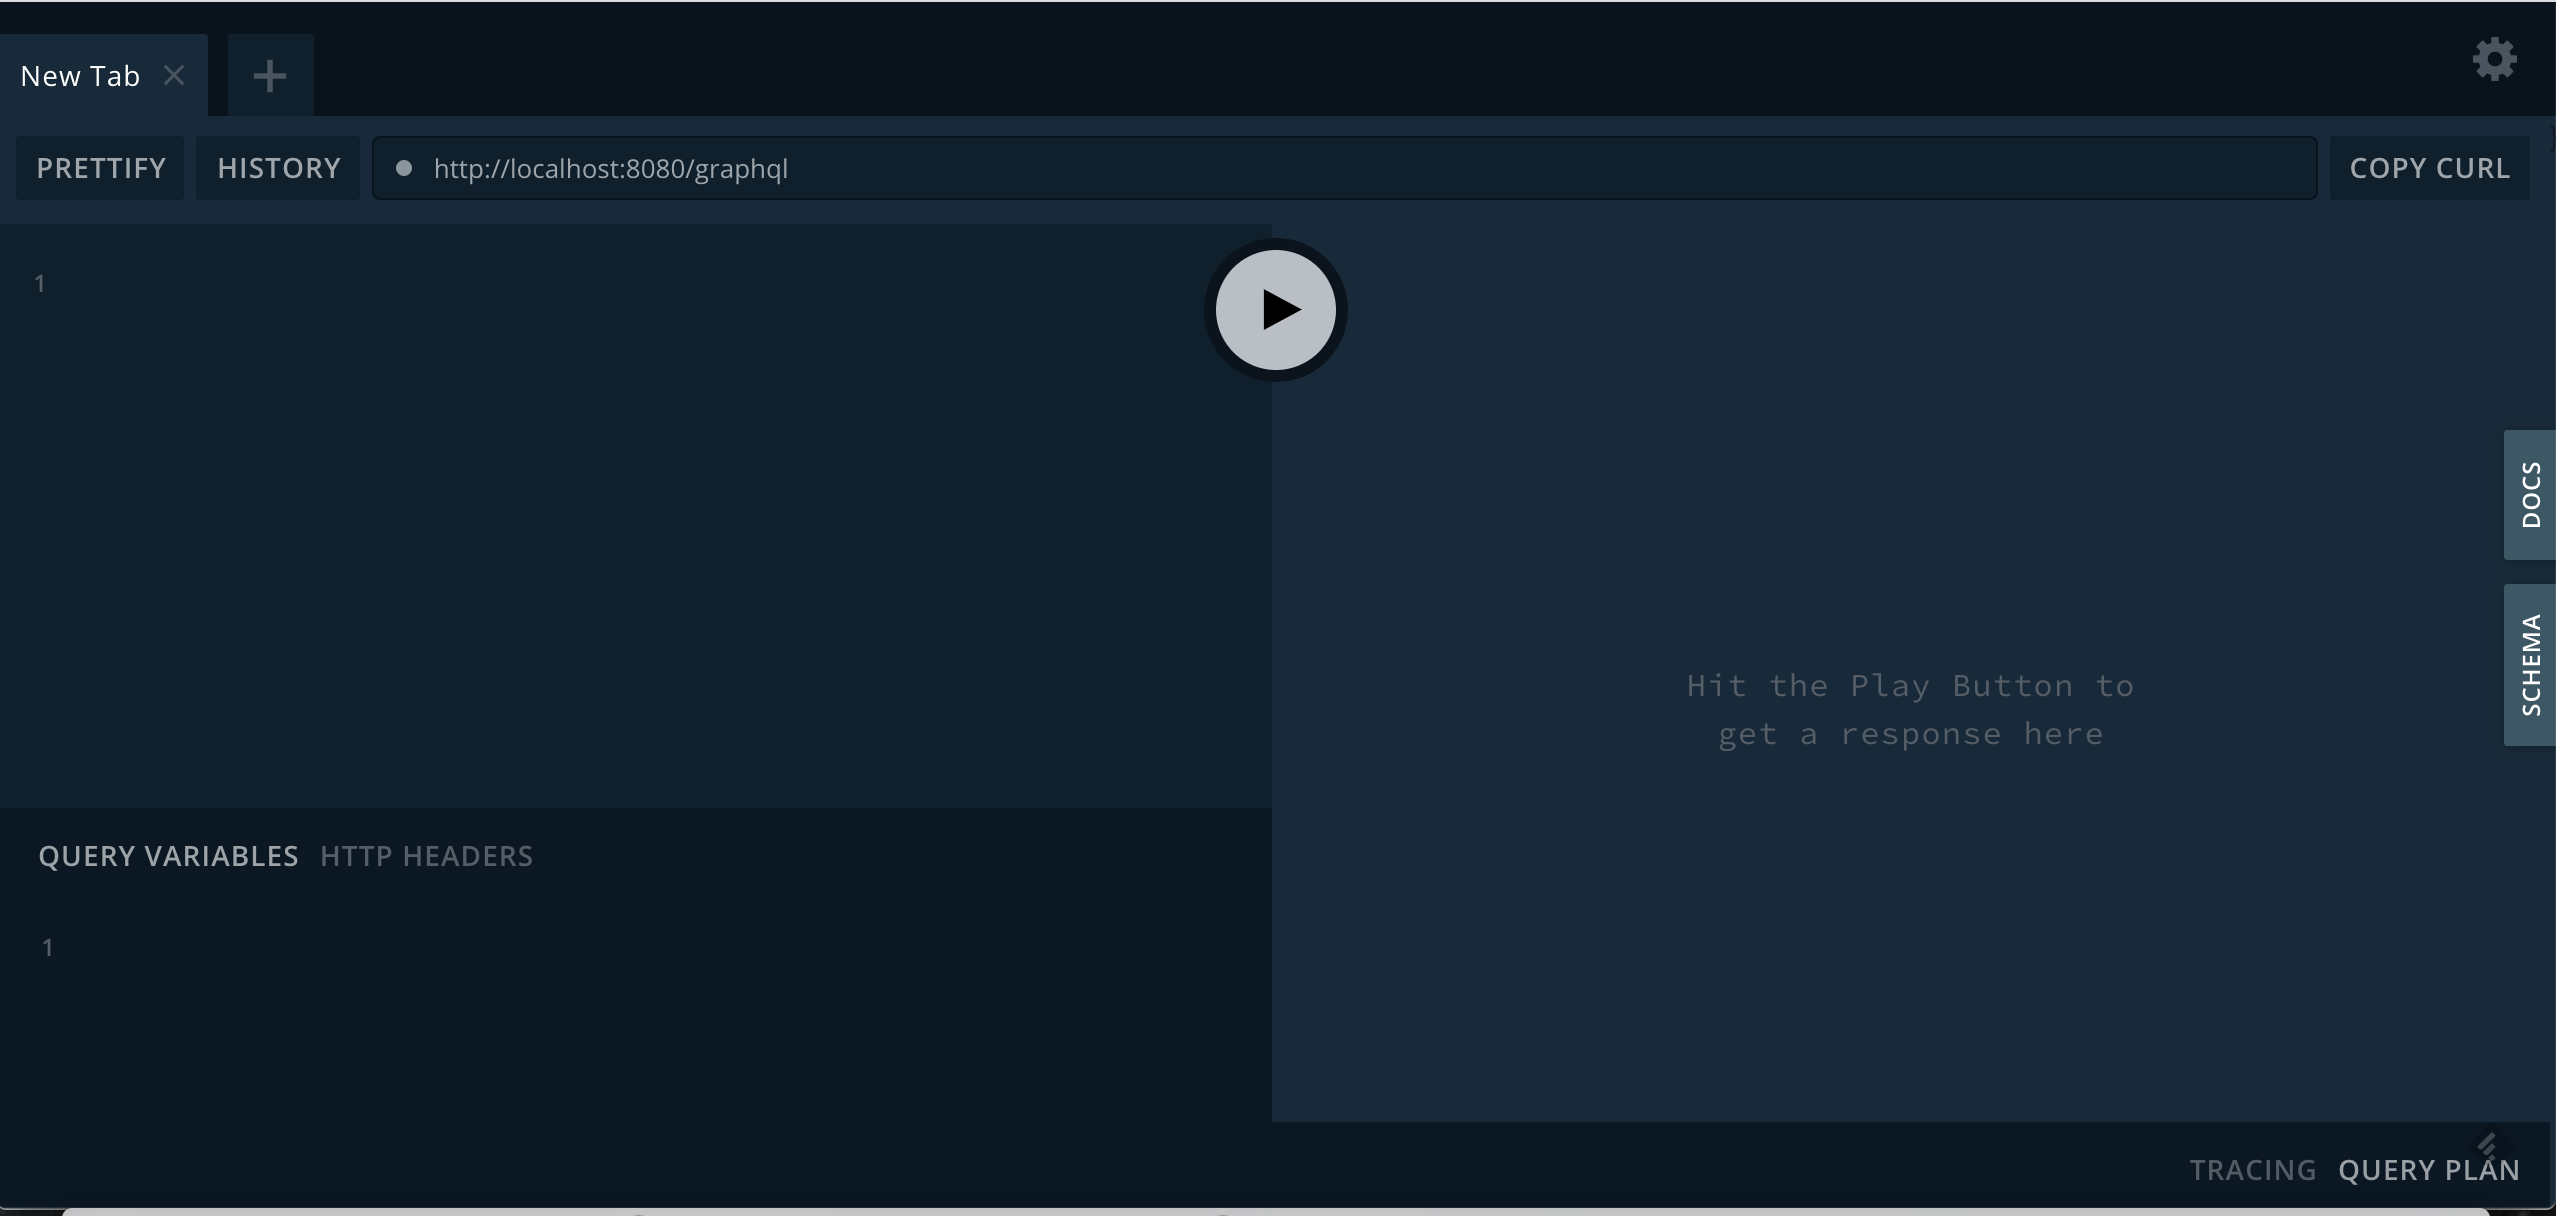
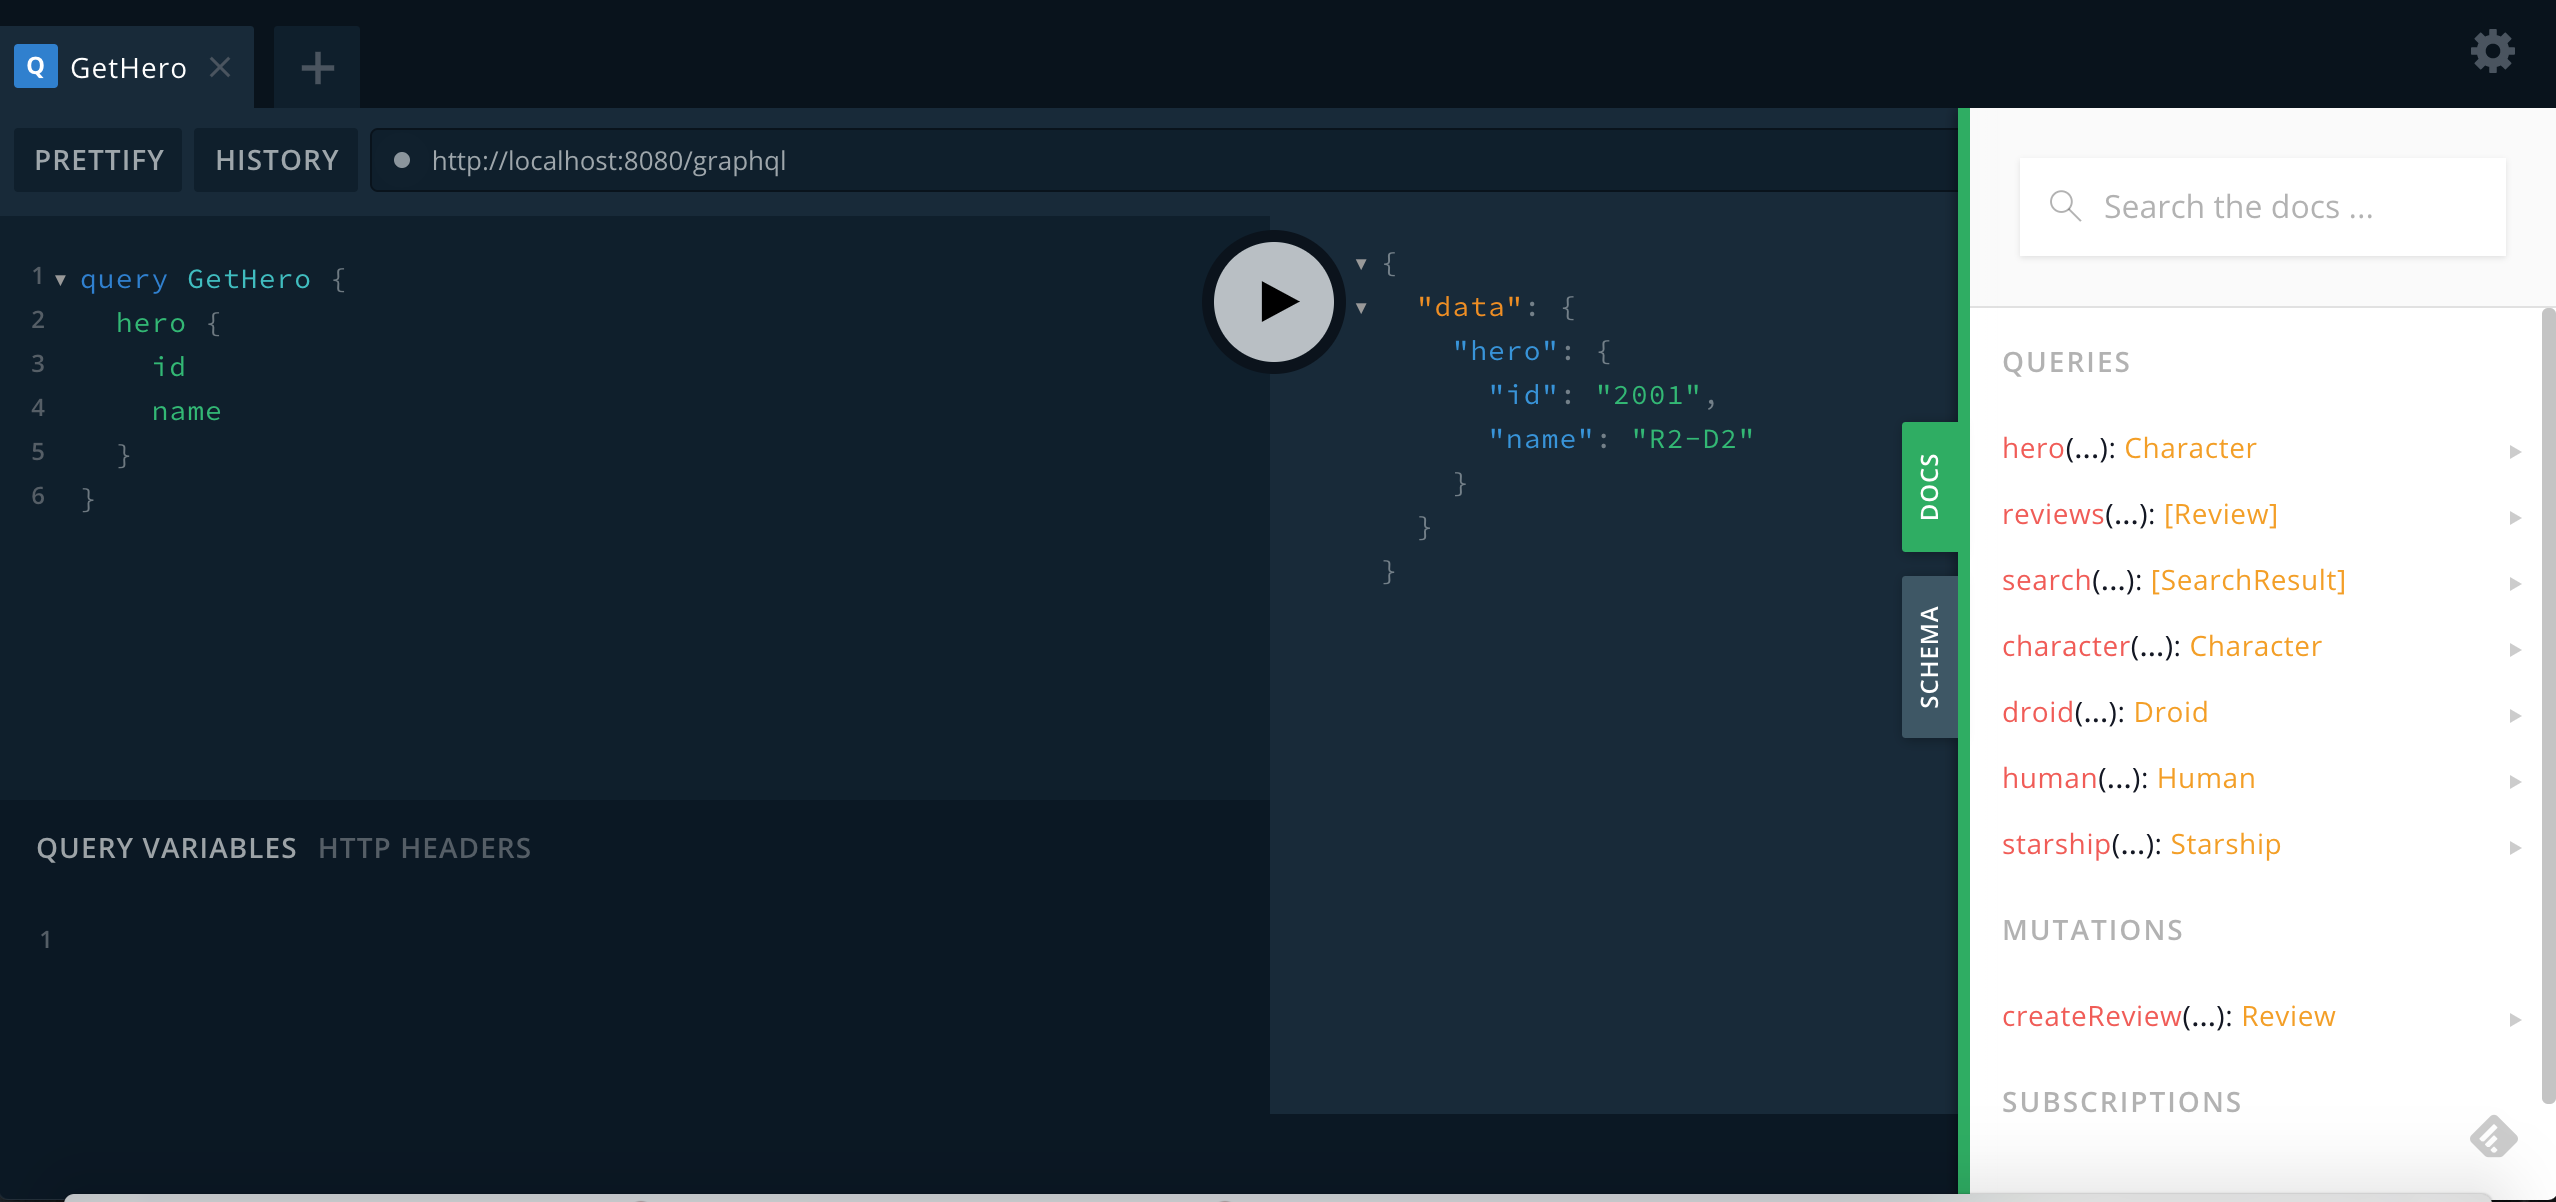
Identify where your server's GraphiQL instance lives. GraphiQL is a helpful web interface for interacting with and testing out a GraphQL server. This can generally be accessed by going to the same URL as your GraphQL endpoint in a web browser, but you might need to talk to your backend team if they host it in a different place.
You'll see something that looks like this:
In the "Docs" tab on the right-hand side, you should be able to access a list of the various queries you can make to your server:
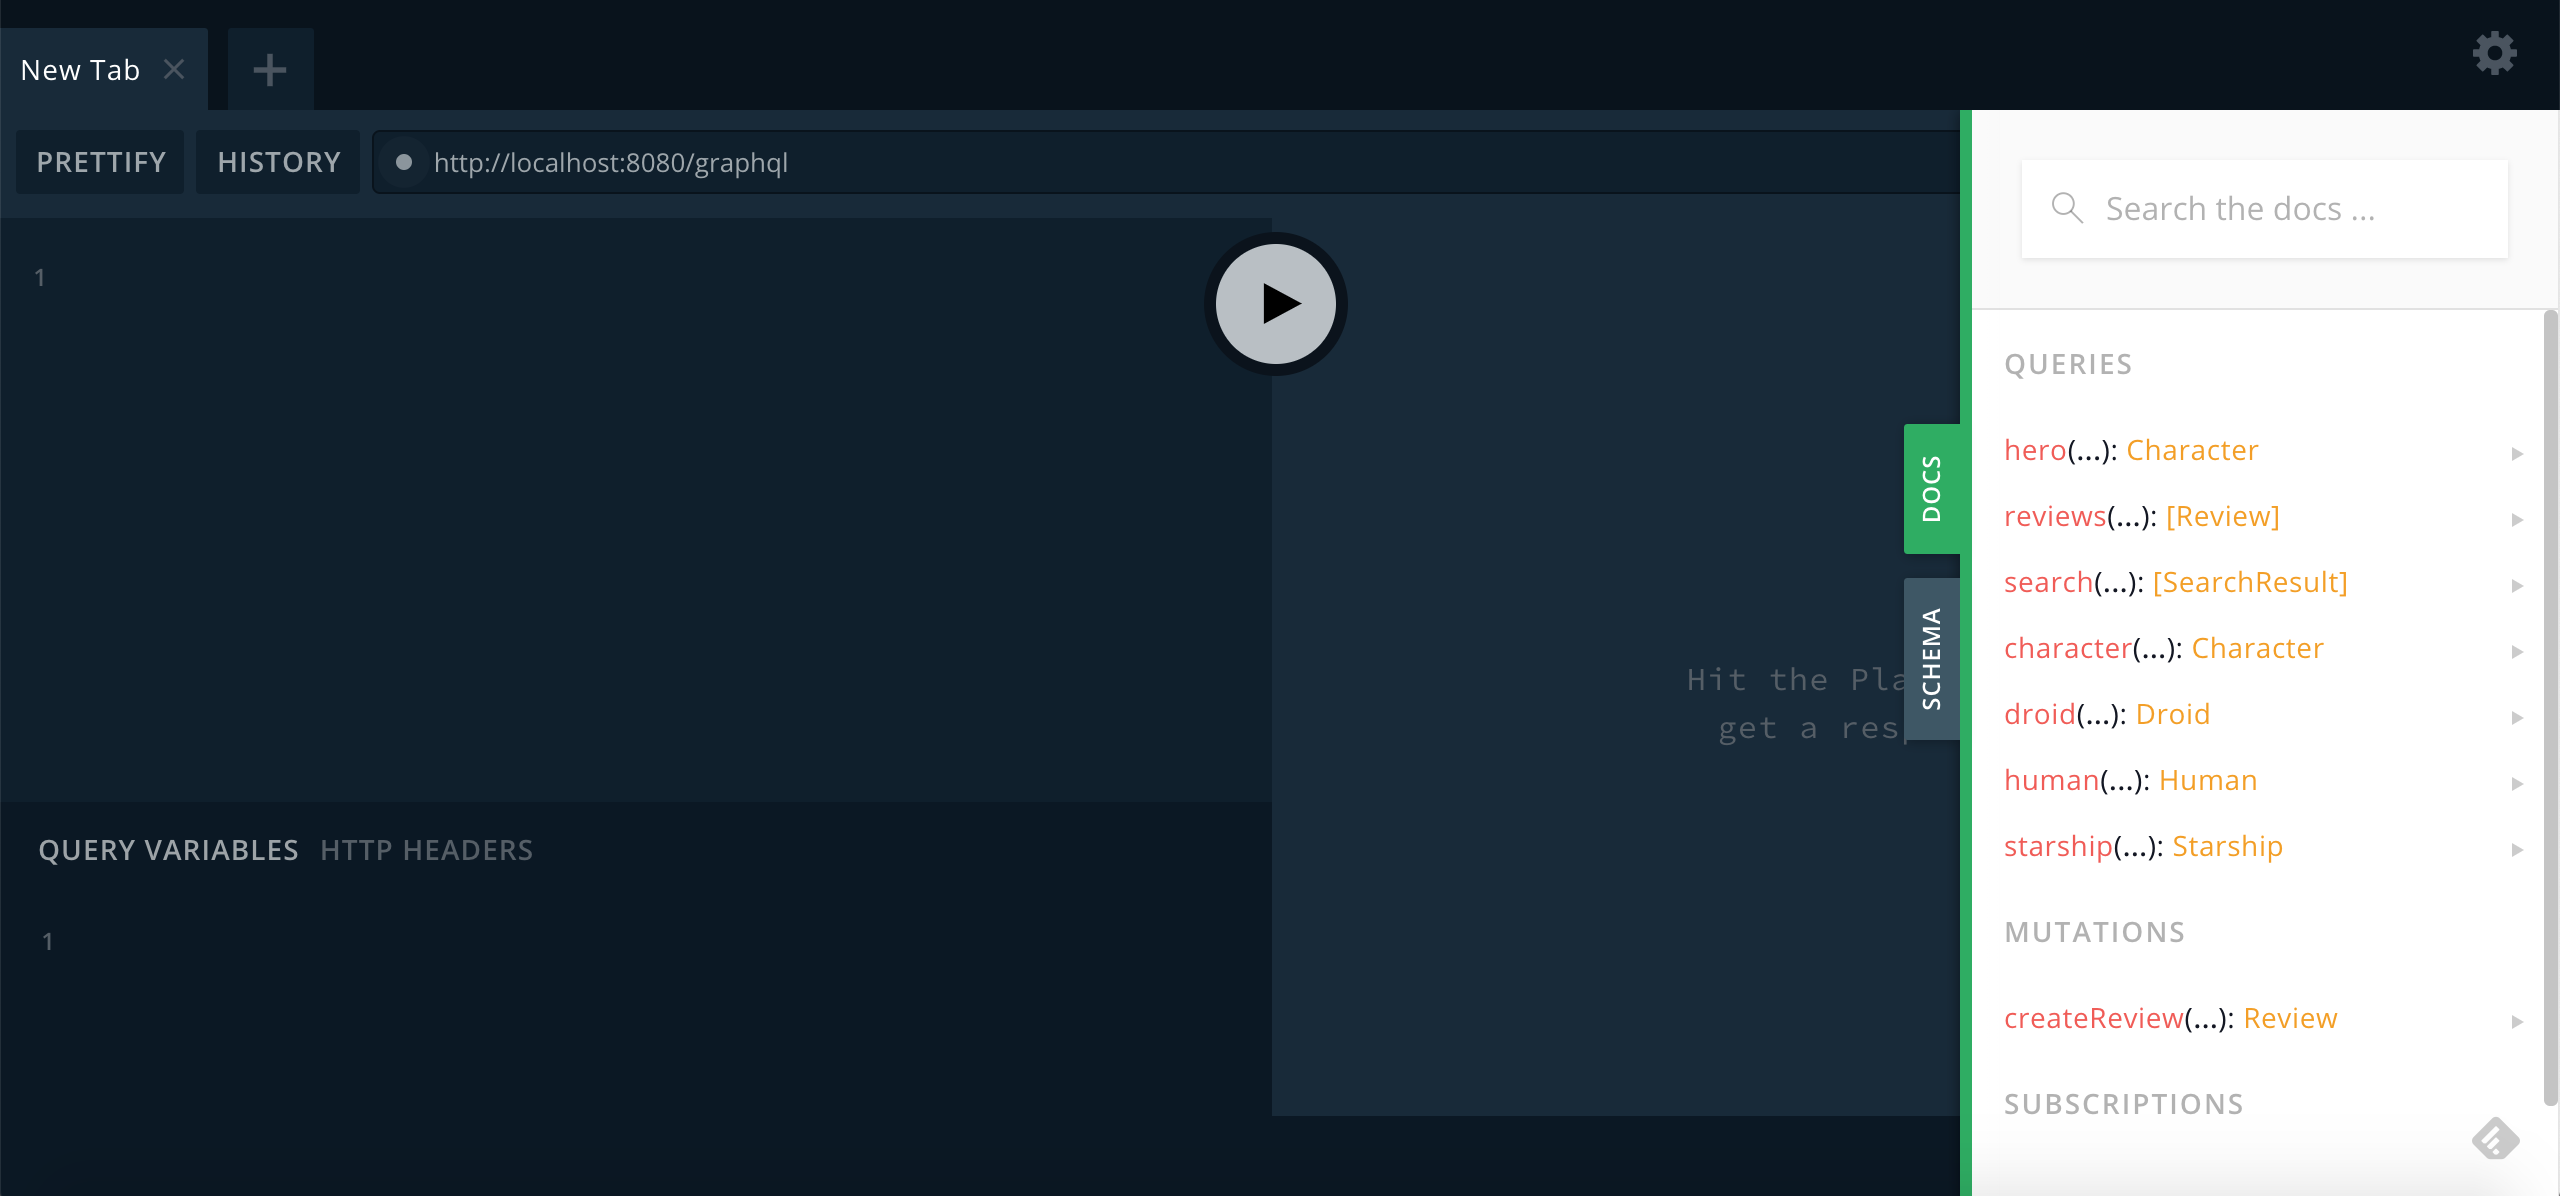
You can then type out a GraphQL query on the left-hand side and have it give you auto-completion for your queries and the properties you can ask for on the returned data. Clicking the play button will execute the query, so you can validate that the query works:
Now you can create a new empty .graphql file in your Xcode project, give it the same name as your query, and paste in the query.
You'll want to add it to the project files, ideally at or above the level of the schema.json (Otherwise, you'll need to manually pass the URL of your GraphQL files to your code generation step):
MyProject // SourceRoot
| MyProject.xcodeproj
| - MyProject // Contains app target source files
| schema.json
| LaunchList.graphql
| - MyLibraryTarget // Contains lib target source files
| - MyProjectTests // Contains test files
| - Codegen // Contains Swift Scripting files
| Package.swift
| README.md
| - ApolloCLI // Contains downloaded typescript CLI
| - Sources
| - Codegen
| main.swiftHere, for example, is what this looks like in a file for one of the queries in our tutorial application:

Generating Swift code for a target
Before you start: Remember, you need to have a locally downloaded copy of your schema and at least one
.graphqlfile containing an operation in your file tree. If you don't have both of these, code generation will fail. Read the section above if you don't have an operation set up!
-
Specify the URL for the root of the target you're generating code for:
main.swiftlet targetURL = sourceRootURL .apollo.childFolderURL(folderName: "MyProject")Again, you might want to make sure the folder exists before proceeding:
main.swifttry FileManager .default .apollo.createFolderIfNeeded(at: targetURL) -
Set up your
ApolloCodegenOptionsobject. In this case, we'll use the constructor that sets defaults for you automatically:main.swiftlet codegenOptions = ApolloCodegenOptions(targetRootURL: targetURL)This creates a single file called
API.swiftin the target's root folder. -
Add the code to run code generation:
main.swiftdo { try ApolloCodegen.run(from: targetURL, with: cliFolderURL, options: codegenOptions) } catch { exit(1) }Note that again,
catching and manually callingexitwith a non-zero code leaves you with a much more legible error message than simply letting the method throw. -
Build and run using the Xcode project. Note that if you're on Catalina you might get a warning asking if your executable can access files in a particular folder like this:
Click OK. Your CLI output will look something like this:
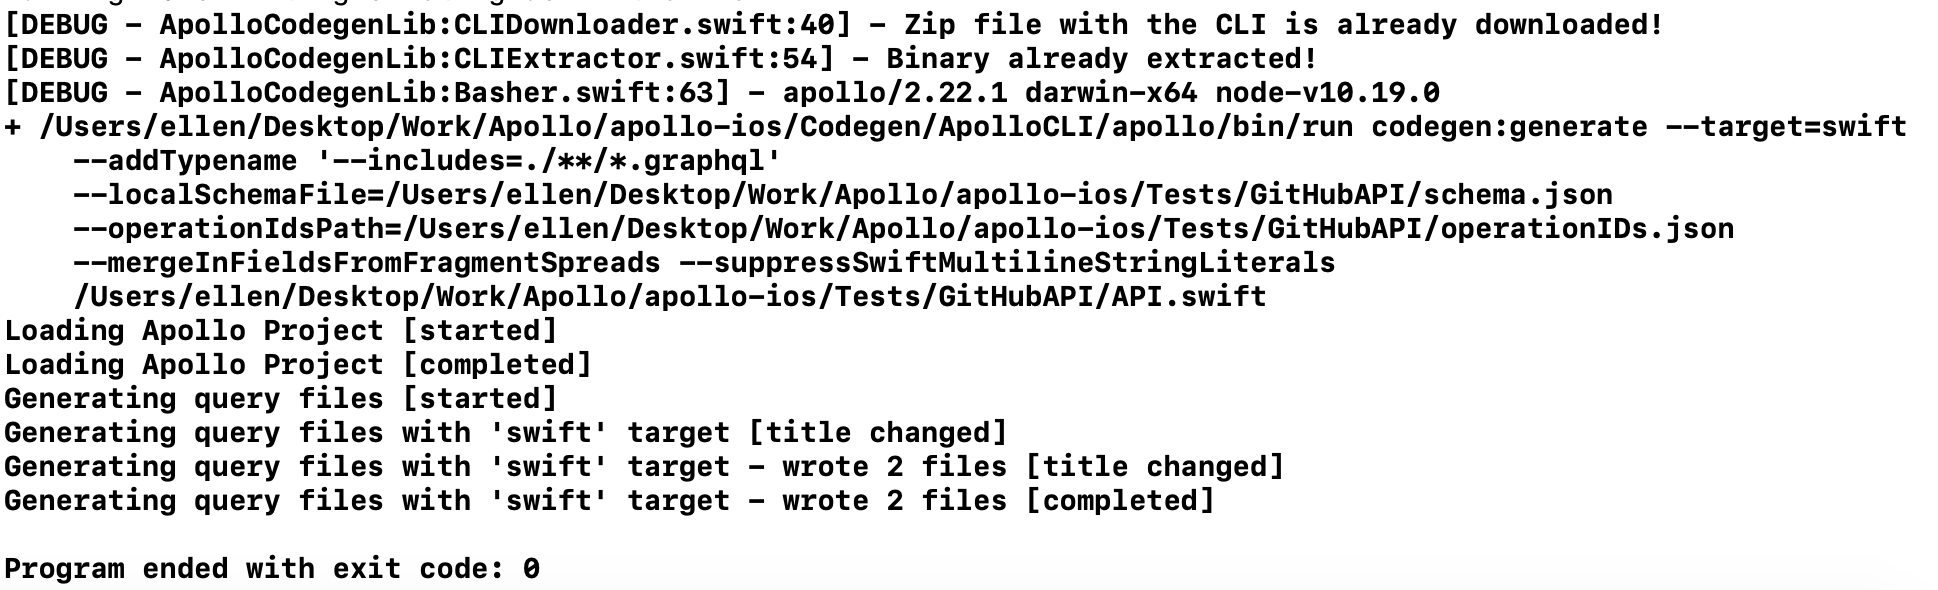
The final lines about loading the Apollo project and generating query files indicate that your code has been generated successfully.
Now, you're able to generate code from a debuggable Swift Package Manager executable. All that's left to do is set it up to run from your Xcode project!
Running your executable from your main project
- Select the target in your project or workspace you want to run code generation, and go to the
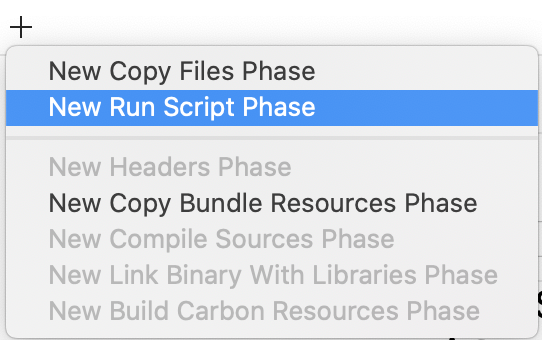
Build Phasestab. - Create a new Run Script Build Phase by selecting the + button in the upper left-hand corner:
-
Update the build phase run script to
cdinto the folder where your executable's code lives, then runswift run(usingxcrunso that you can ensure it runs with the correct SDK, no matter what type of project you're building):cd "${SRCROOT}"/Codegen xcrun -sdk macosx swift runNote: If your package ever seems to have problems with caching, run
swift package cleanbeforeswift runfor a totally clean build. It is not recommended to do this by default, because it substantially increases build time. - Build your target.
Now, every time you build your project, this script gets called. Because Swift knows not to recompile everything unless something's changed, it should not have a significant impact on your build time.
Full Script Example
Here's an example of a full main.swift file for your Codegen project which follows the file structure outlined above, and both downloads the schema and uses it to run the codegen:
import Foundation
import ApolloCodegenLib
// Grab the parent folder of this file on the filesystem
let parentFolderOfScriptFile = FileFinder.findParentFolder()
// Use that to calculate the source root of both the
let sourceRootURL = parentFolderOfScriptFile
.apollo.parentFolderURL() // Sources
.apollo.parentFolderURL() // Codegen
.apollo.parentFolderURL() // MyProject
// From the source root, figure out where your target
// root is within your main project
let targetRootURL = sourceRootURL
.apollo.childFolderURL(folderName: "MyProject")
// Set up the URL you want to use to download the project
let endpoint = URL(string: "http://localhost:8080/graphql")!
// Create an options object for downloading the schema
let schemaDownloadOptions = ApolloSchemaOptions(endpointURL: endpoint,
outputFolderURL: targetRootURL)
// Calculate where you want to create the folder where the CLI will
// be downloaded by the ApolloCodegenLib framework.
let cliFolderURL = sourceRootURL
  .apollo.childFolderURL(folderName: "Codegen")
  .apollo.childFolderURL(folderName: "ApolloCLI")
do {
// Actually attempt to download the schema.
try ApolloSchemaDownloader.run(with: cliFolderURL,
options: schemaDownloadOptions)
} catch {
// This makes the error message in Xcode a lot more legible,
// and prevents the script from continuing to try to generate
// code if the schema download failed.
exit(1)
}
// Create the default Codegen options object (assumes schema.json
// is in the target root folder, all queries are in some kind
// of subfolder of the target folder and will output as a
// single file to API.swift in the target folder)
let codegenOptions = ApolloCodegenOptions(targetRootURL: targetRootURL)
do {
// Actually attempt to generate code.
try ApolloCodegen.run(from: targetRootURL,
with: cliFolderURL,
options: codegenOptions)
} catch {
// This makes the error message in Xcode a lot more legible.
exit(1)
}Note that in practice, you will probably want to break the codegen and schema download into separate files, since you'll need to run the code generation considerably more frequently.
Swift-specific troubleshooting
If you encounter errors around SecTaskLoadEntitlements that result in an immediate exit of the script instead of showing the permission prompt, verify that all the folders you're looking for exist at the correct path. This error is often caused by a typo.