1. Create your project
In this step, you'll add the Apollo iOS SDK to a new project.
Create a new Xcode project
- Open Xcode and go to File > New > Project. The template chooser appears.
-
Under the set of iOS templates, choose Master-Detail App:
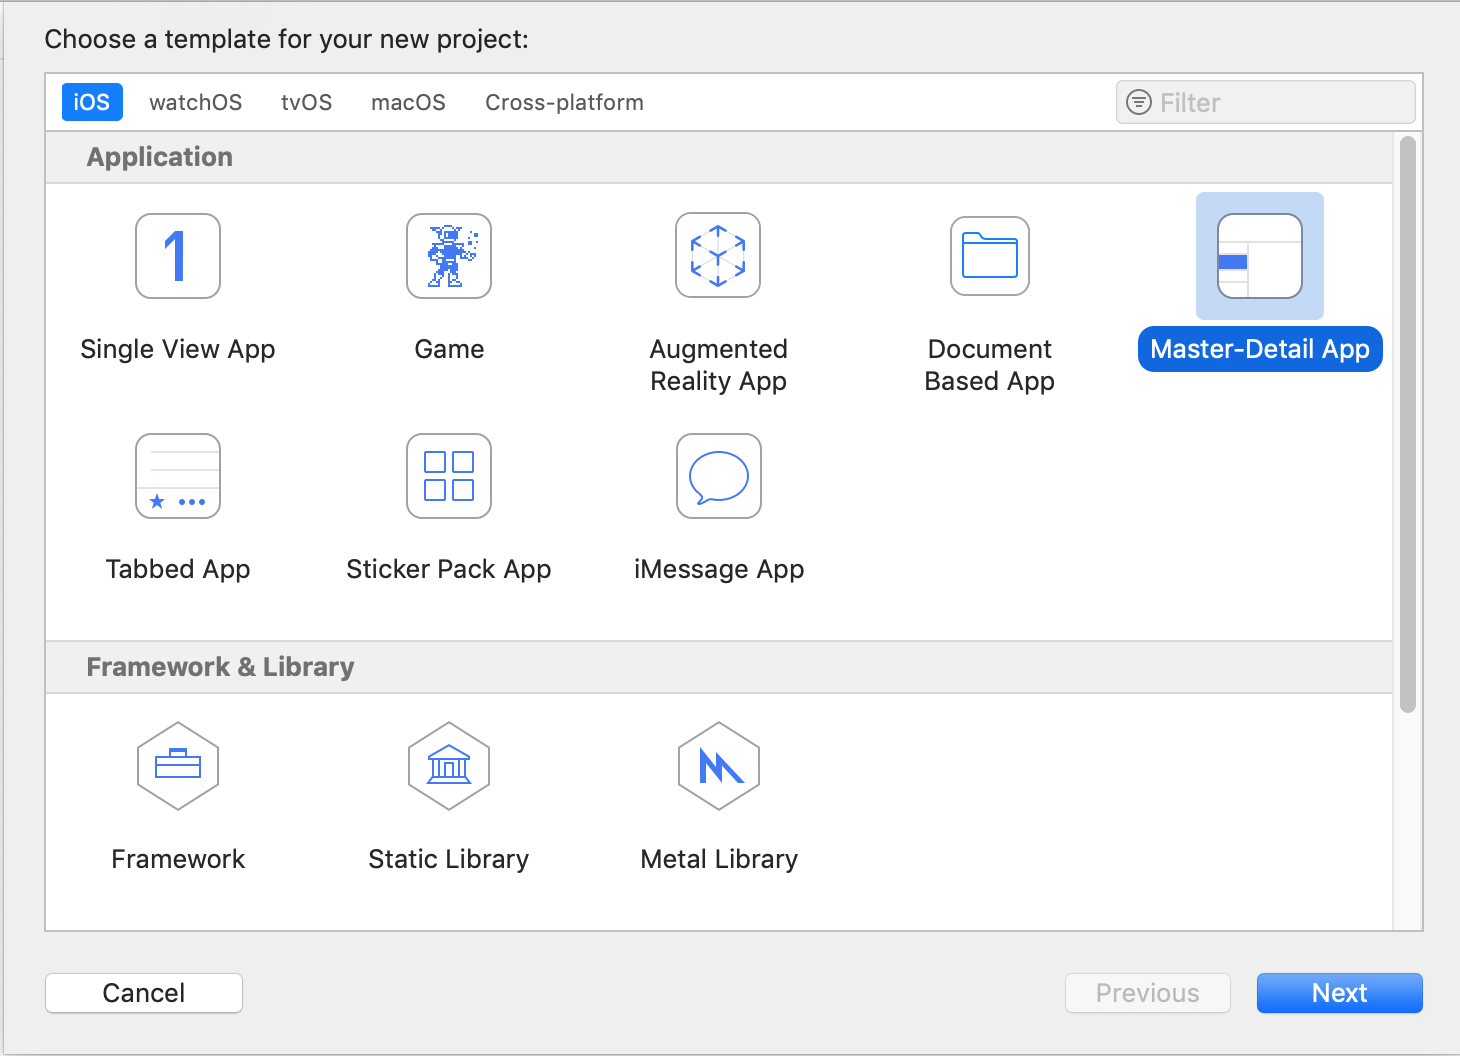
- Click Next. An options dialog for your app appears.
-
Name the project RocketReserver. Make sure the language is Swift and the User Interface is Storyboard:
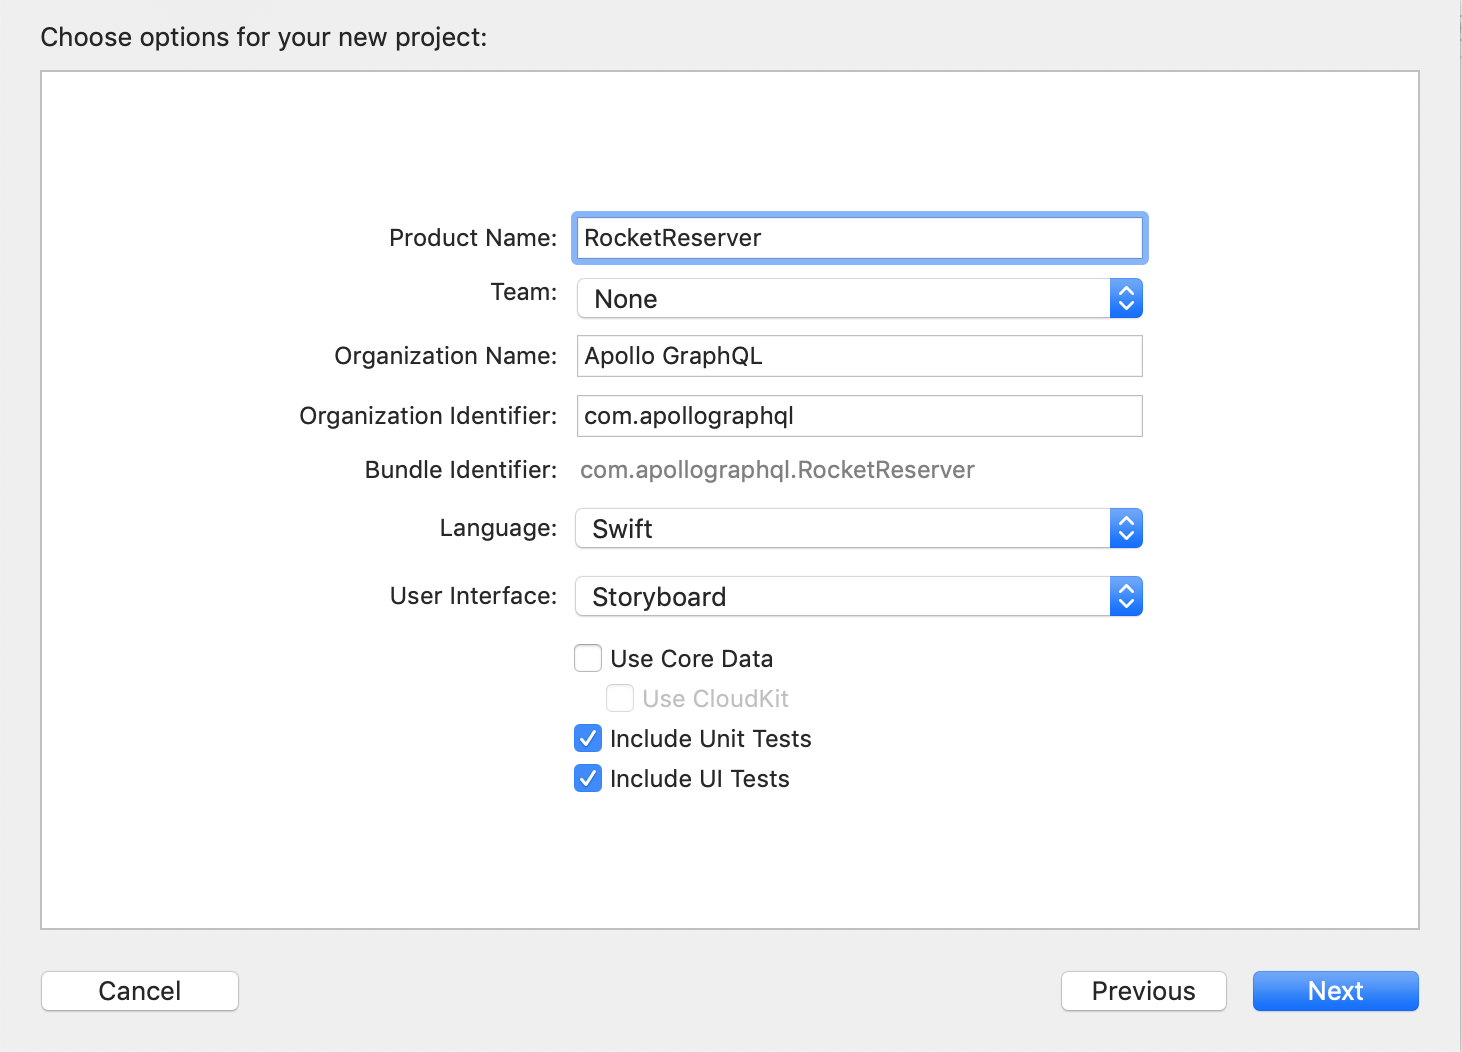
- Click Next. Select a location to save your new project and click Finish.
Xcode creates and opens your new project, which has the following structure:

Add the Apollo iOS SDK to your project
Next, you'll add a dependency on the apollo-ios repo and Apollo libraries using Swift Package Manager (SPM).
- Go to File > Swift Packages > Add Package Dependency. A dialog to specify a package repository appears.
-
Specify
https://github.com/apollographql/apollo-ios.git(don't forget the.git!) as the package repository: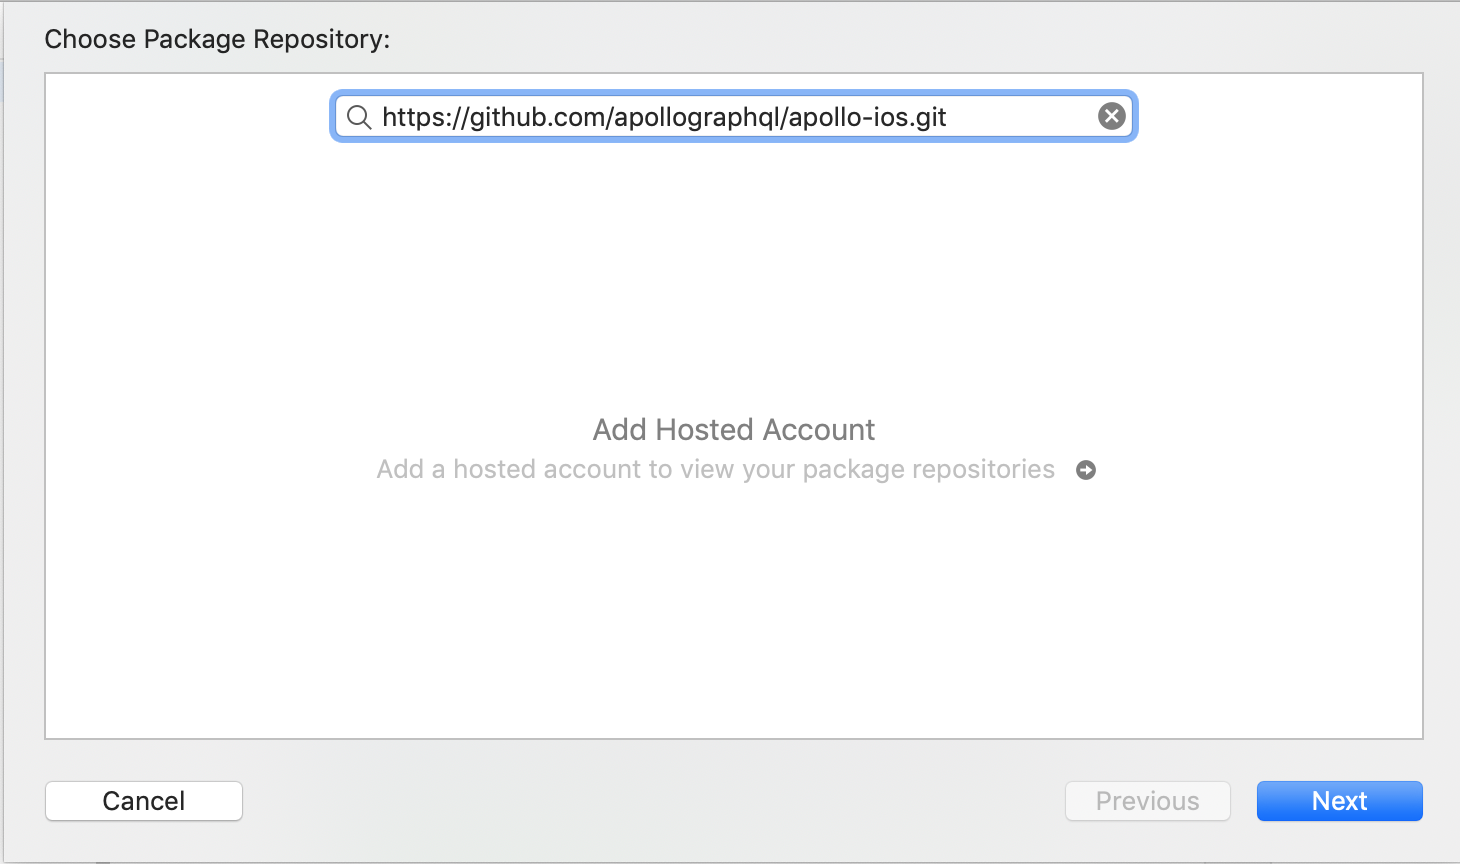
- Click Next. Xcode checks out the repository and analyzes the library. A package options dialog appears.
-
Select Up to Next Minor from the Version dropdown (because the Apollo iOS SDK is still a
0.xrelease, breaking changes can occur between minor versions):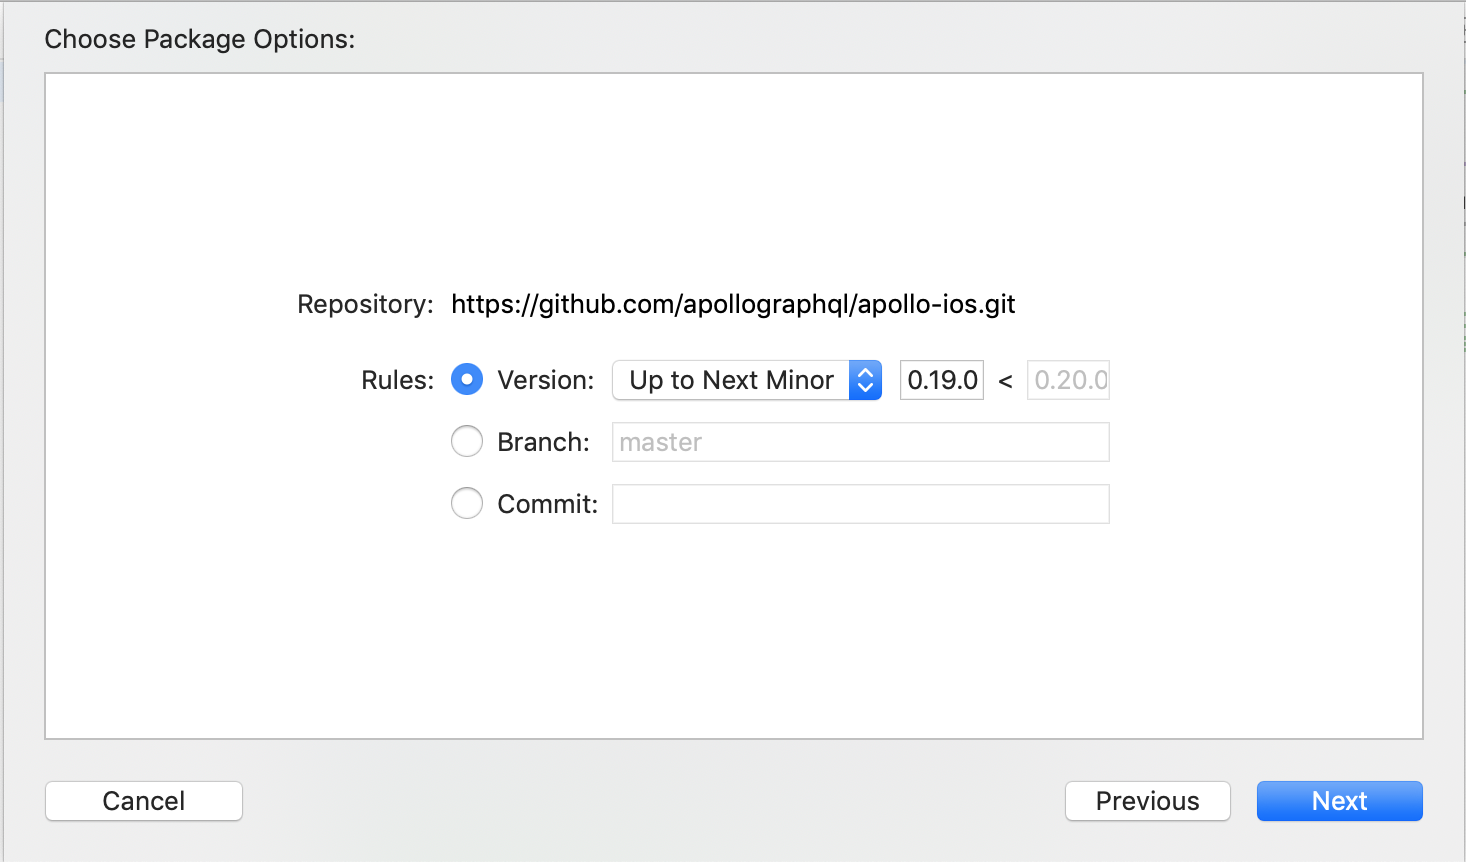
-
Click Next. A list of packages included in the library appears. For this tutorial, select the main Apollo target and the ApolloWebSocket target:
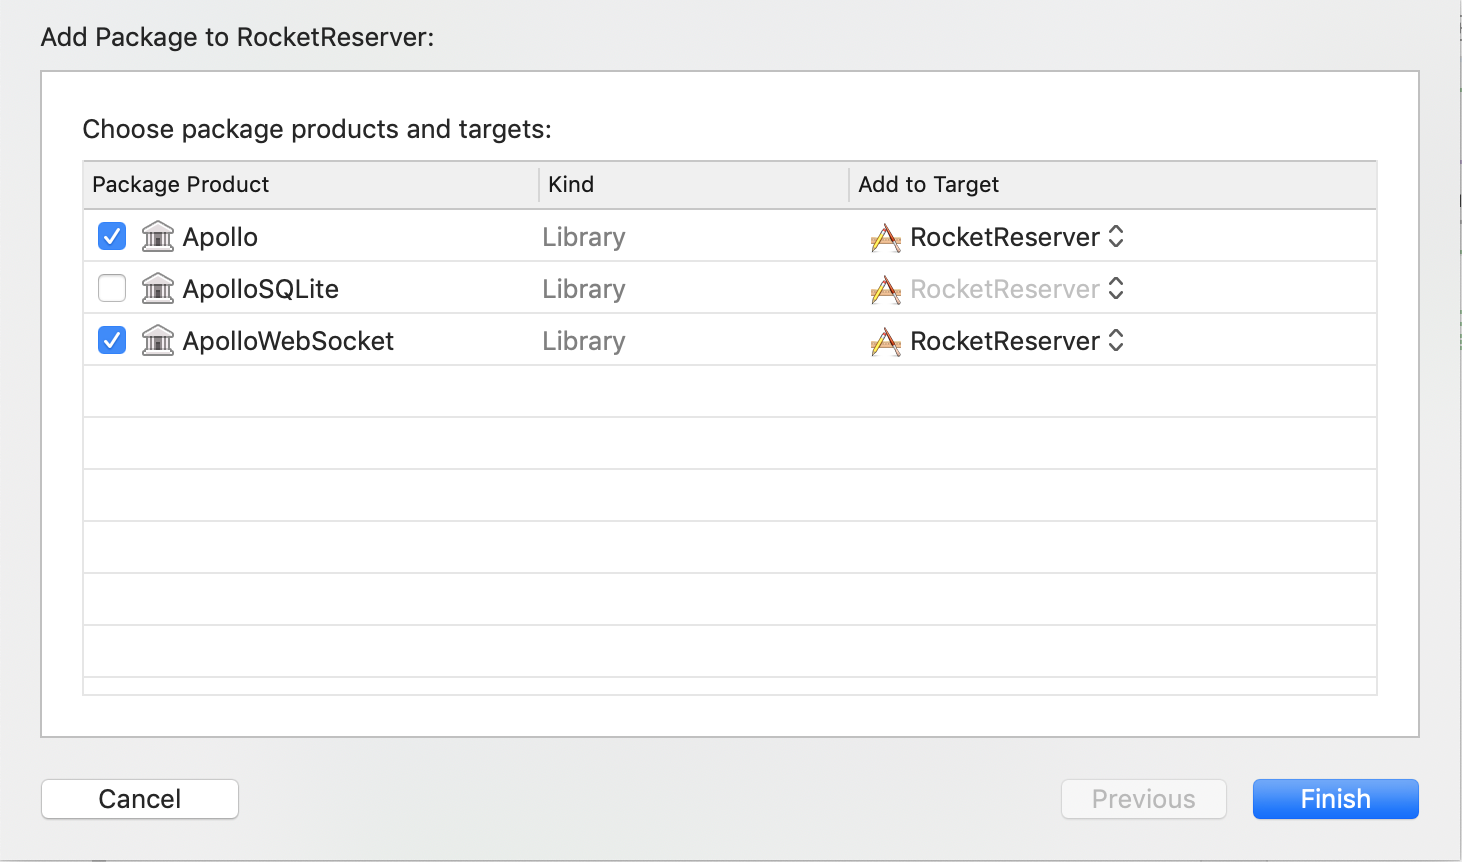
-
Click Finish. SPM fetches your dependencies. When it completes, you can see them in the project navigator:
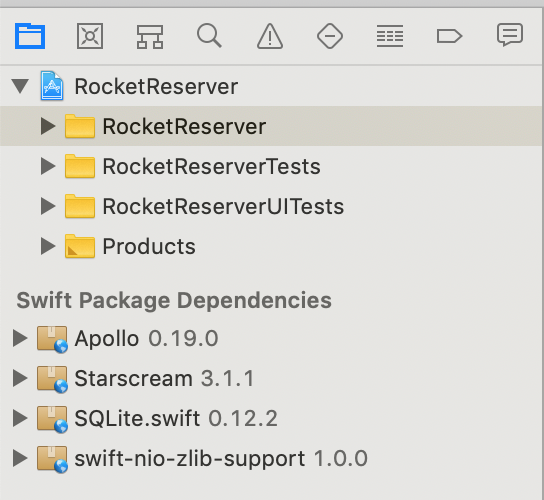
Note: Because SPM has not yet implemented Target-Based Dependency Resolution, you'll see the
SQLitedependency even though you didn't select it.
Next, before you can use the SDK, you need to obtain a local copy of your GraphQL schema.