2. Obtain your GraphQL schema
This tutorial uses a modified version of the GraphQL server you build as part of the Apollo full-stack tutorial. You can visit https://apollo-fullstack-tutorial.herokuapp.com/ to start it up and open the GraphiQL tool to explore its schema:
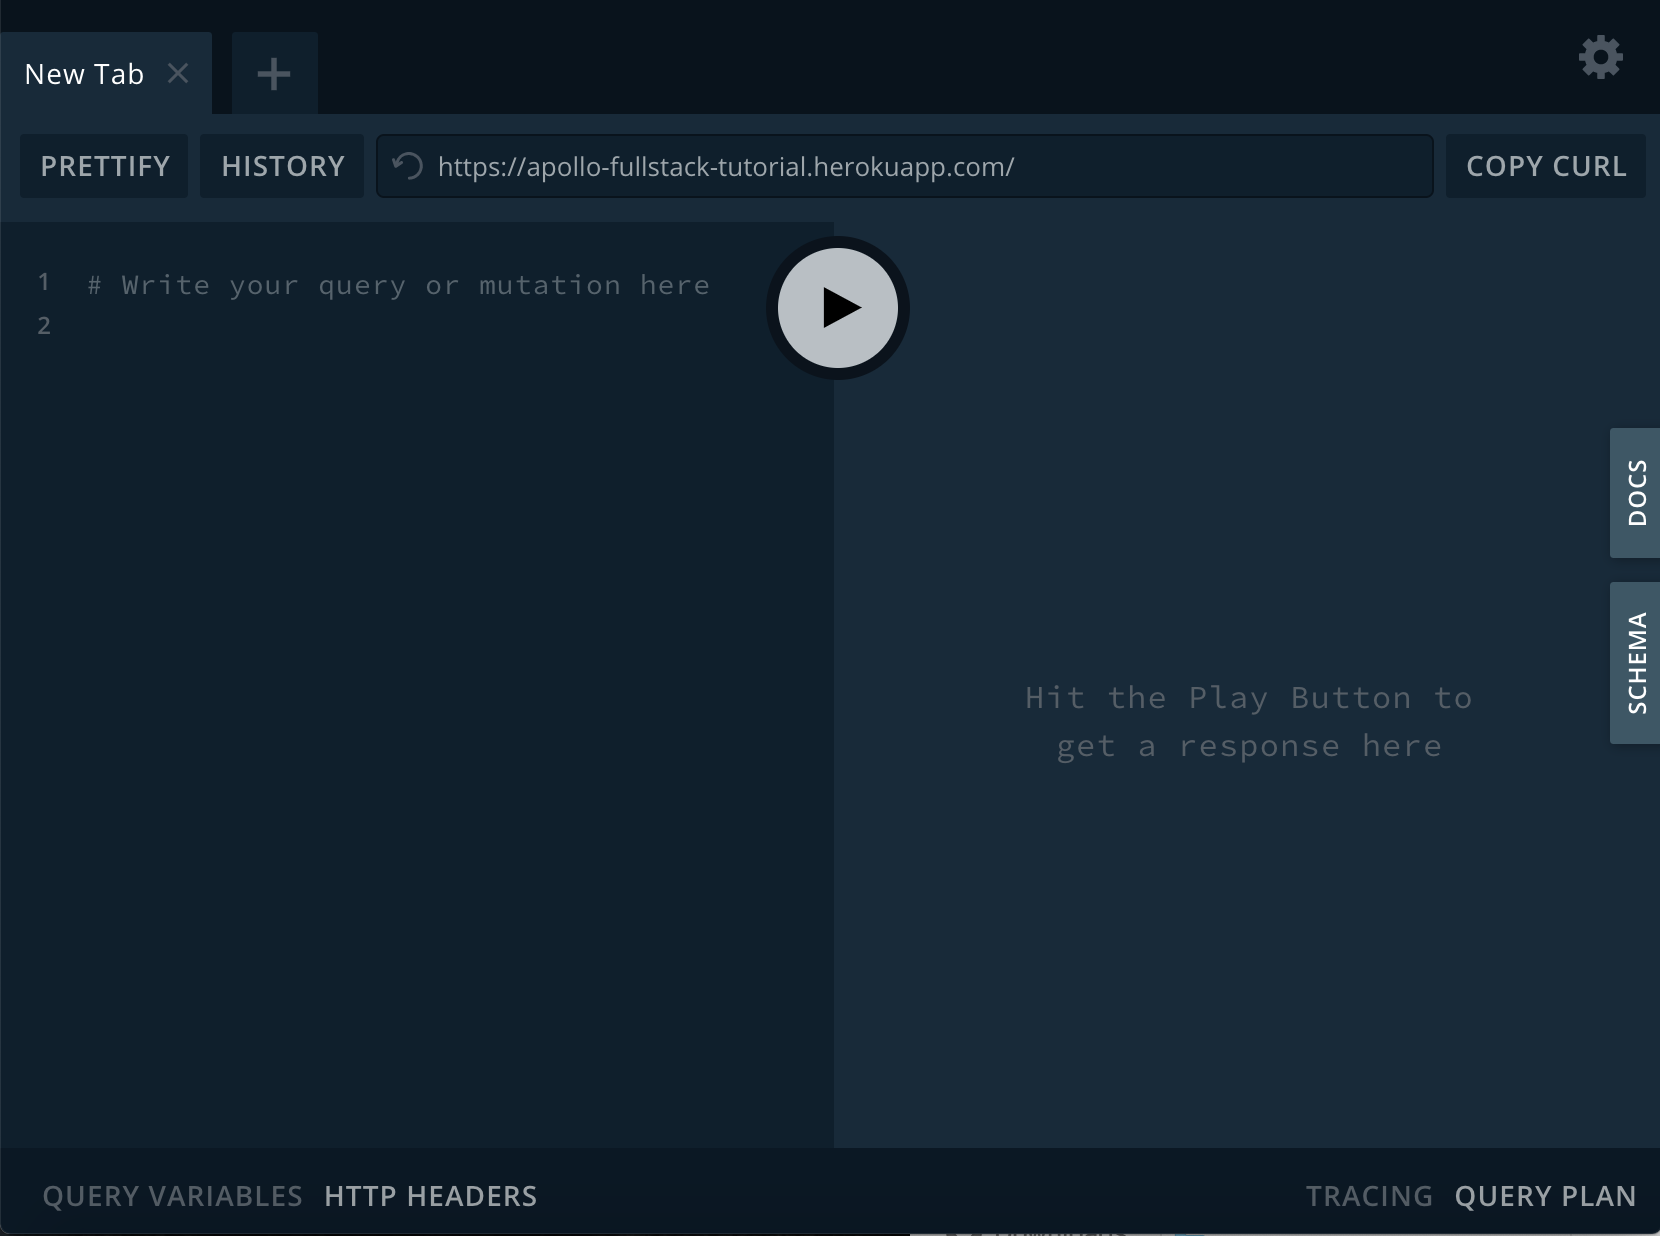
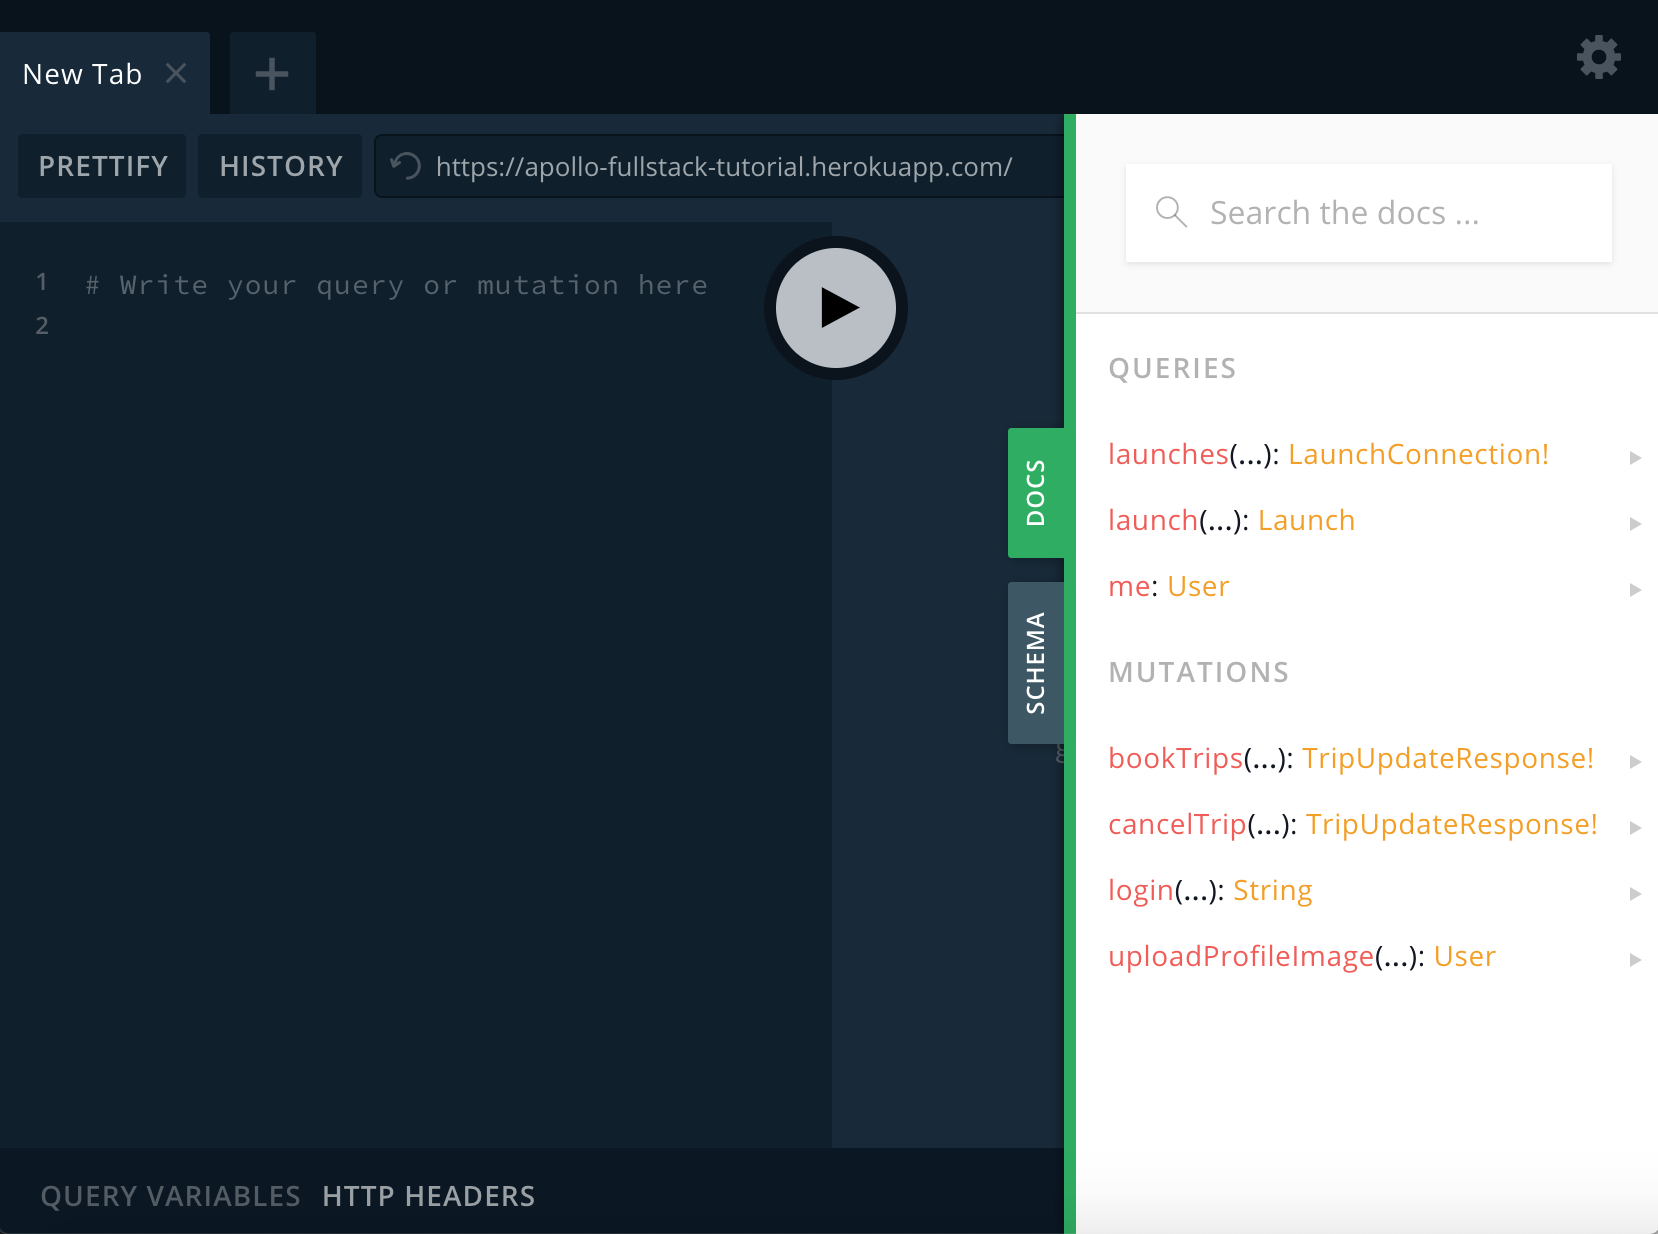
The schema defines which GraphQL operations your server can execute. Click Schema on the right-hand side to view a list of types you can query (and the types of fields on those types) along with any possible mutations or subscriptions:
Download your server's schema
The Apollo iOS SDK needs a local copy of your server's schema to generate code from it. To accomplish this, the Apollo CLI includes a schema:download command that enables you to fetch the schema from a GraphQL server.
To use the Apollo CLI from Xcode, add a Run Script build phase to your app:
-
Select the
xcodeprojfile in the Project Navigator, and then select theRocketReserverapplication target: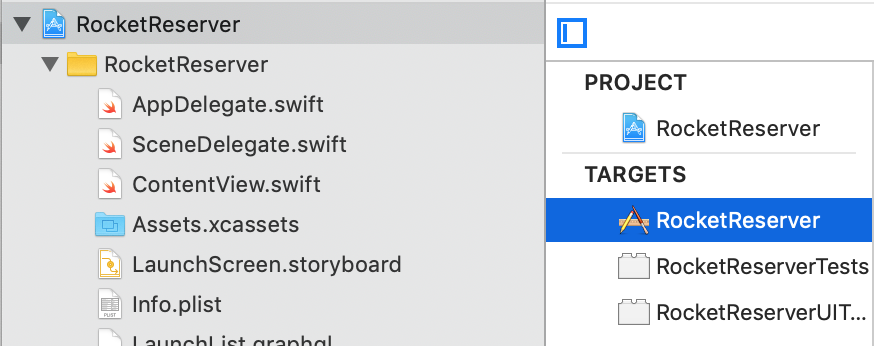
-
A list of tabs appears. Select the Build Phases tab:

-
Click the
+button above the list of existing phases and select New Run Script Phase: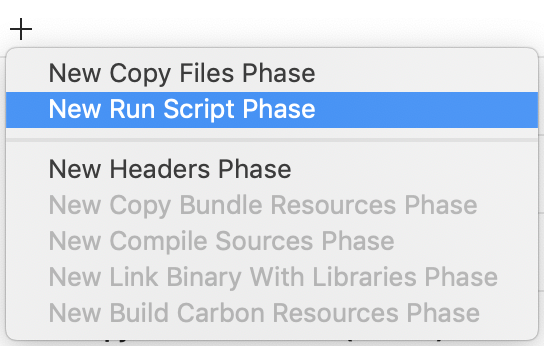
This adds a new Run Script build phase to the bottom of your list of build phases.
-
Drag the newly created phase up between "Dependencies" and "Compile Sources":
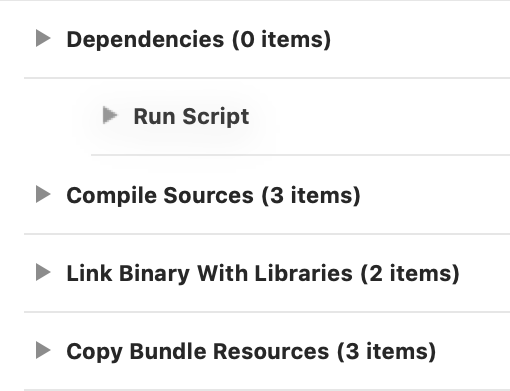
-
Double-click the name of the build phase to rename it to Apollo CLI:
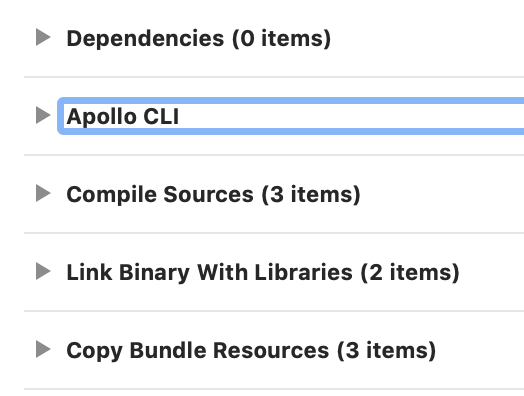
- Expand the Apollo CLI phase. Paste the Swift Package Manager Run Script from Adding a code generation build step into the text area. This script uses your schema to generate the code that the Apollo iOS SDK uses to interact with your server.
-
Before the script can generate code, it needs a local copy of your GraphQL server's schema. For now, comment out the last line of the script you pasted and add the following line below it:
"${SCRIPT_PATH}"/run-bundled-codegen.sh schema:download --endpoint="https://apollo-fullstack-tutorial.herokuapp.com/"This line runs the Apollo CLI's
schema:downloadcommand, which downloads the schema to aschema.jsonfile at the same level of your project as theAppDelegate.swiftfile. -
Build your project to execute the script. In Finder, navigate to the folder that contains your
AppDelegate.swiftfile. The folder should now include the downloadedschema.jsonfile. Drag this file from Finder into Xcode: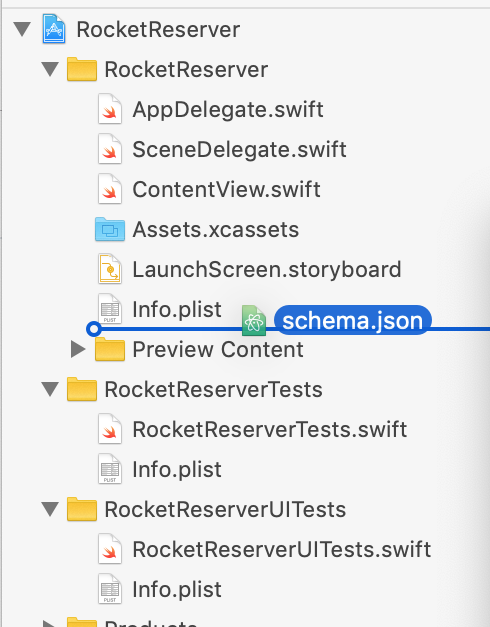
When Xcode offers to add the schema file, make sure all targets are unchecked to reduce the size of your application bundle:
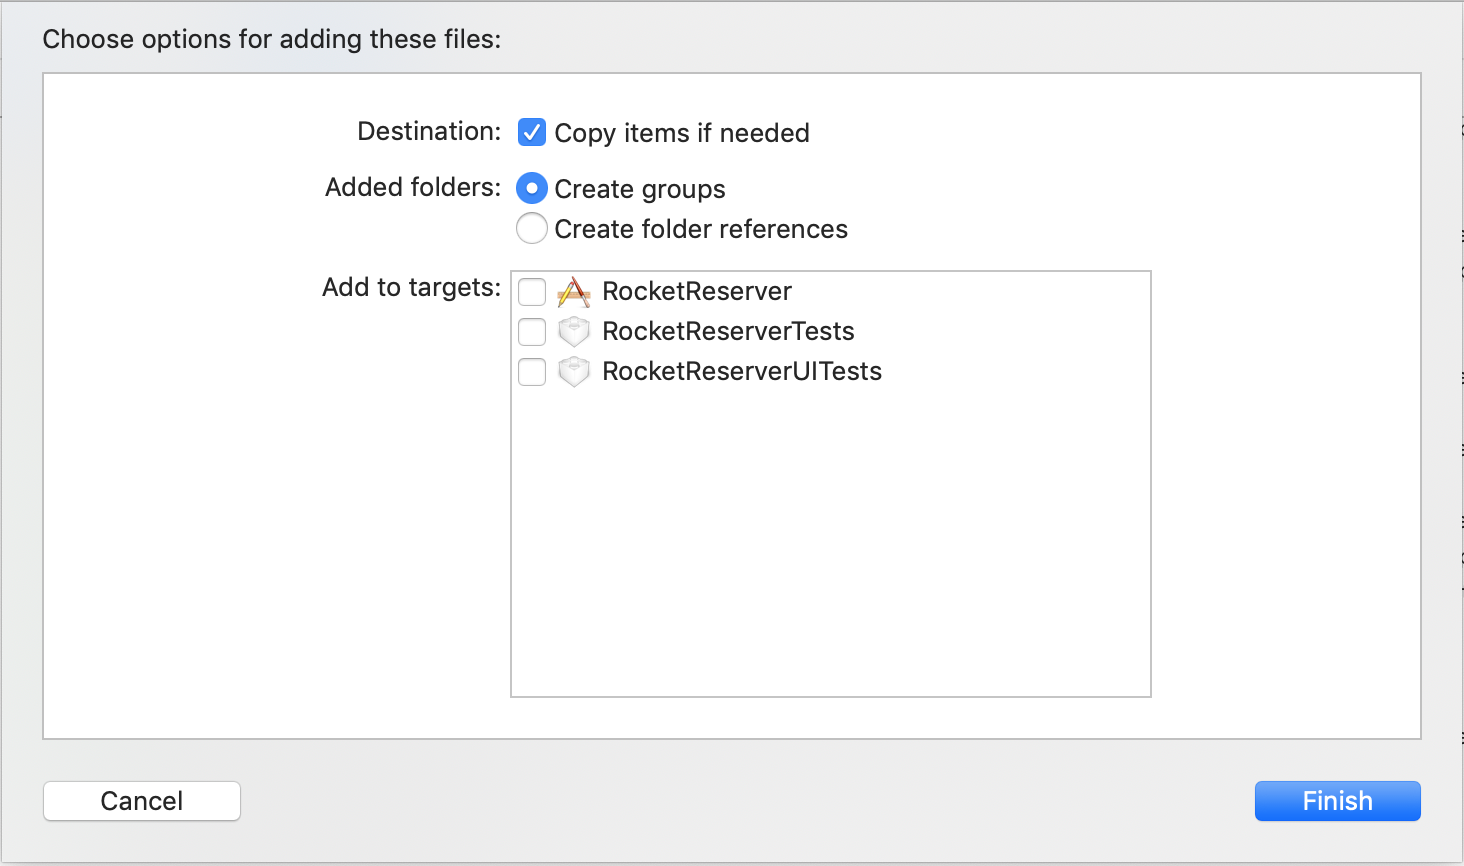
You don't need to add the schema to any targets, because it is only used to generate code that is added to targets.
Your server's schema is now available locally. Next, you'll create your first operation against the schema.